Introduction
Mask textures are usually used in game development and 3D art to compress up to 4 grayscale textures into a single RGBA texture. Using this method you can reduce drawcalls and improve your game performance.
For more information refer to these documentation pages: Using texture masks
Motivations
Texture masks are pretty usefull for 3D artists, VFX artists, Technical artists and kinda anyone working in a 3D environment. I’ve always been confused about why the creation method for this widespread workflow was so ofuscated, usually relying on paid 3rd party software (I’m looking at you, Adobe) or very niche open source software that, even solving the budget problem, still needs to be downloaded, installed and set up for not even offering your texture ready in engine.
I was missing the ability for the game engine to handle this mask texture creation process and thought it was a cool project so I implemented it and released for all of you to enjoy in-engine mask texture manipulation tools :D
Features
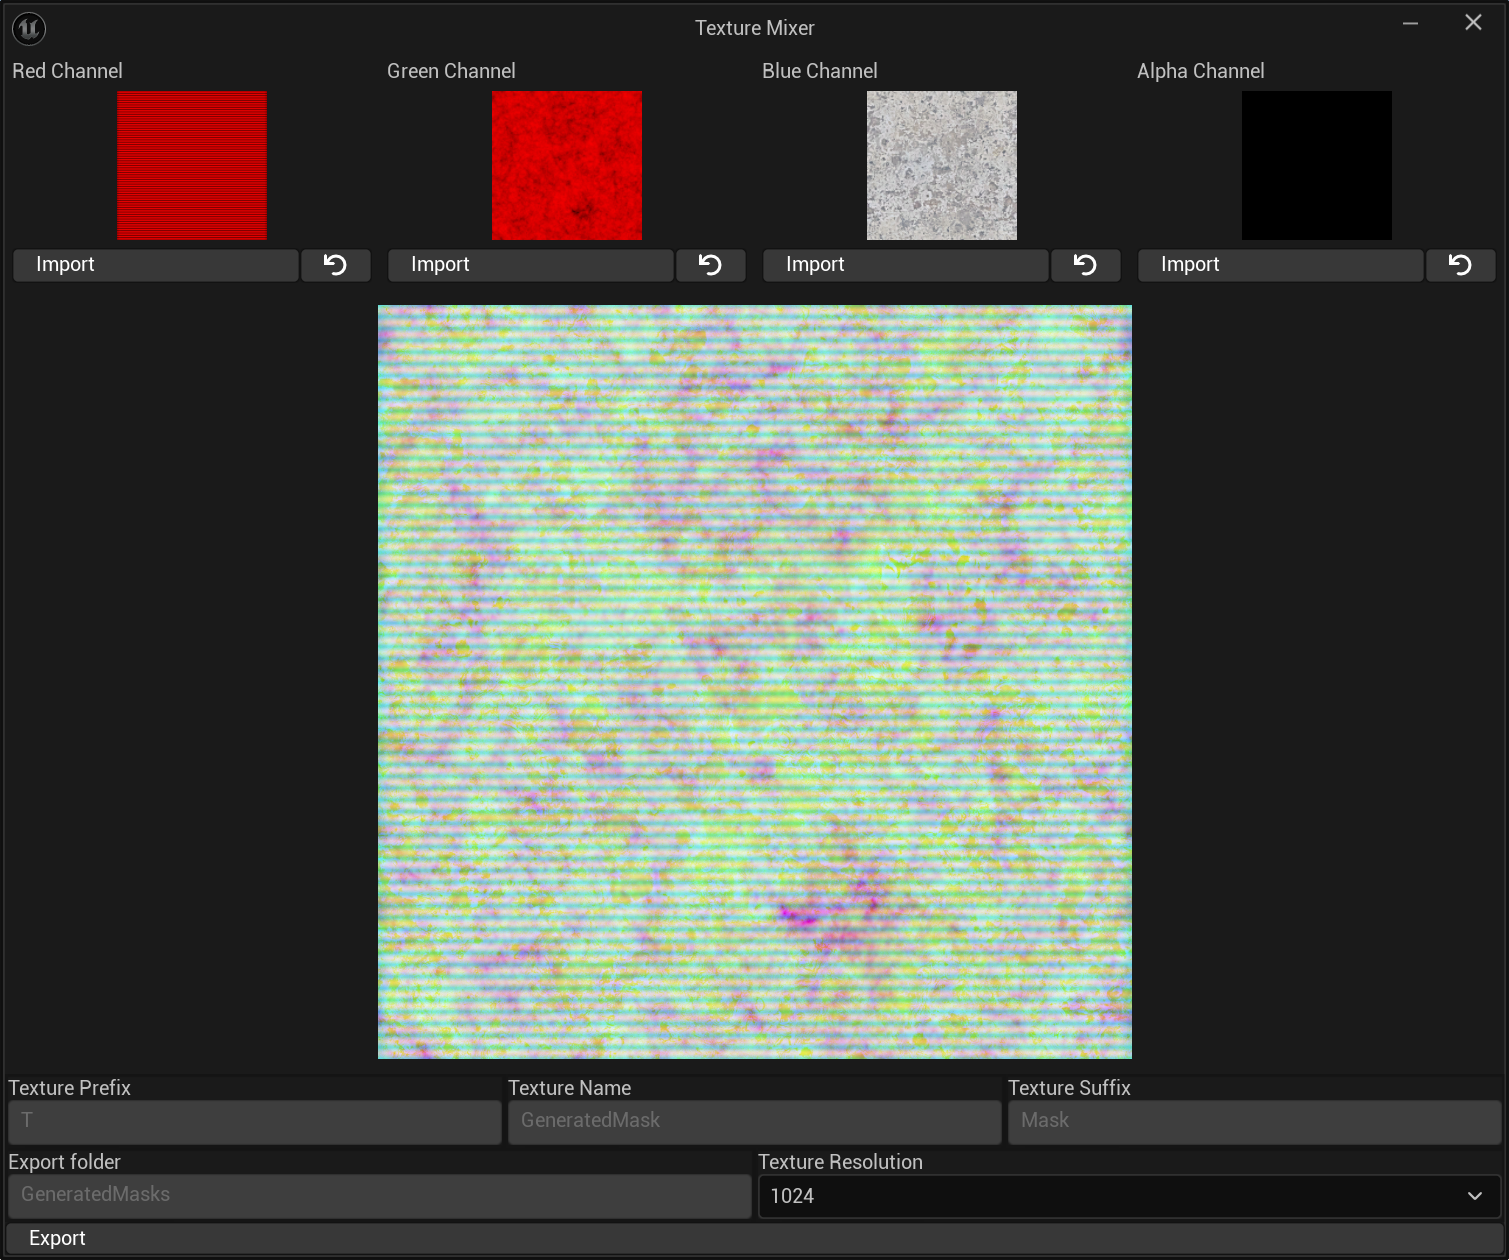
Texture Mixer
Merge up to 4 grayscale textures into one single RGBA texture using an editor built-in interface.
Texture Splitter
Split any texture into it’s RGBA channels, creating one single grayscale texture for each one of them.
Prerequisites
Installation
The plugin can be adquired in Fab or cloned or downloaded for free from GitHub.
If you got Git installed on your computer you can clone the repository by typing this command in a terminal in your engine “Plugins/Marketplace” folder or your project “Plugins” folder:
1
git clone https://github.com/Bumvolla/MaskTools.git
or, if you already got your unreal project in a git repository:
1
git submodule add https://github.com/Bumvolla/MaskTools.git
If not, you can download the .zip file in the latest release and extract it in your project “Plugins” folder
Plugin usage
Channel Mixer
You can find the channel mixer tool navigating to the “Tools” dropdown on the upper side of the screen, and clicking on the “Texture Mixer” button.
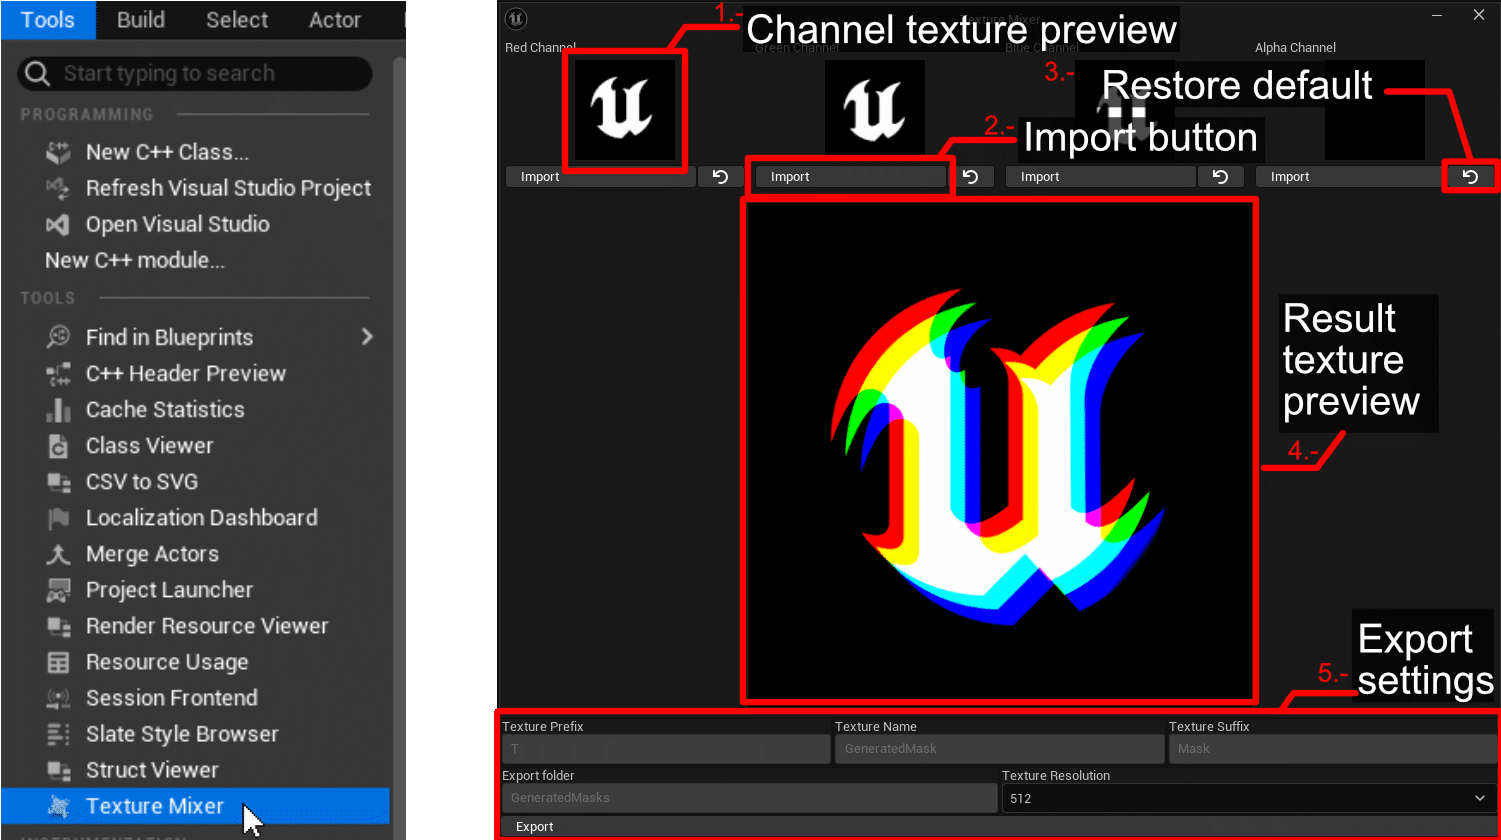
1 - Channel texture preview - Preview of the currently imported texture in that channel.
2 - Import button - Will assign the current content browser selected texture to the channel.
3 - Restore default - Will assign a 8x8 black texture to that channel. Used for empty channels.
4 - Result texture preview - Previews the final texture that will be exported.
5 - Export settings:
-
Texture prefix: Will be appended at the start of the name (Ej. T_)
-
Texture name: The name the exported texture will have.
-
Texture suffix: Will be appended at the end of the name (Ej. _Mask)
-
Export folder: Export folder. Relative to editor content folder.
-
Texture resolution: Resoolution the texture will be exported in. Asumes 1:1 ratio.
-
Export button: On clicked the texture will be exported with the set settings.
Notes
-
The selected texture is suposed to always be a grayscale texture and it’s red channel will be the one used by the tool as the selected one. If the user want to use it’s green or blue channels is supposed to first split that texture into single grayscale textures and use those as input for the channel mixer.
-
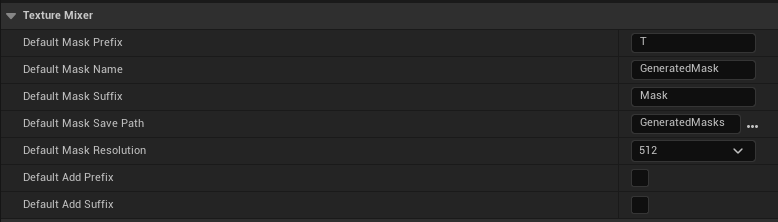
Some default behaviours and values can be modified in the plugin settings.
Channel Splitter
By just right clicking any texture in the content browser you’ll be able to split it into 4 textures, one for each of it’s channels.
Notes
By default each channel will be iterated to avoid exporting empty channels (full black or full white), this behaviour can be modified in the plugin settings.